Tuesday 27 November 2018

Sunday 24 June 2018

Pentax Q USB external battery & vertical grip

Updated the proof of concept.
Now using a much neater and smaller screw (from a spare that comes with a mini Manfroto folding tripod) to replace my previous chunky tripod thread attachment. The battery box is firmly mated to the Q’s base. I can comfortably fit a pair of 3.7v 2200mAh 18650 Lithium cells wired in parallel for far longer battery life. The battery is directly feeding the Q and charges via the powerbank circuit via USB. It would be excessive hereto buy expensive higher capacity 18650’s as it already runs for so long as it is now.

Added a removable IR remote to the front and with a short length of clear fishing line as a light pipe to feed the signal to the Q’s front IR sensor window. The 3rd party remote is one that has separate buttons for focus function and shutter release. It works! I can wield the unit firmly gripped in just my right hand and take a picture in portrait mode using the remote buttons. A nice bonus on top of having the now stupendously long battery life!

Now I’m sure this is all functional, I can later consider wiring an index finger friendly clicky shutter button to the side of the battery case and another button for dedicated back focus. Also on the functionality to-do list is to fit a female tripod thread. 

The endgame would be to have a black 3D printed version of a mini Pentax DSLR vertical battery grip that is housing the IR remote board and buttons, the twin Lithium cells and charger circuit and 2 tripod mount points to cater for both landscape and portrait orientations.

Yes... this is getting ridiculous...


Monday 18 June 2018

Holga pin hole for Pentax Q HLP-PQ

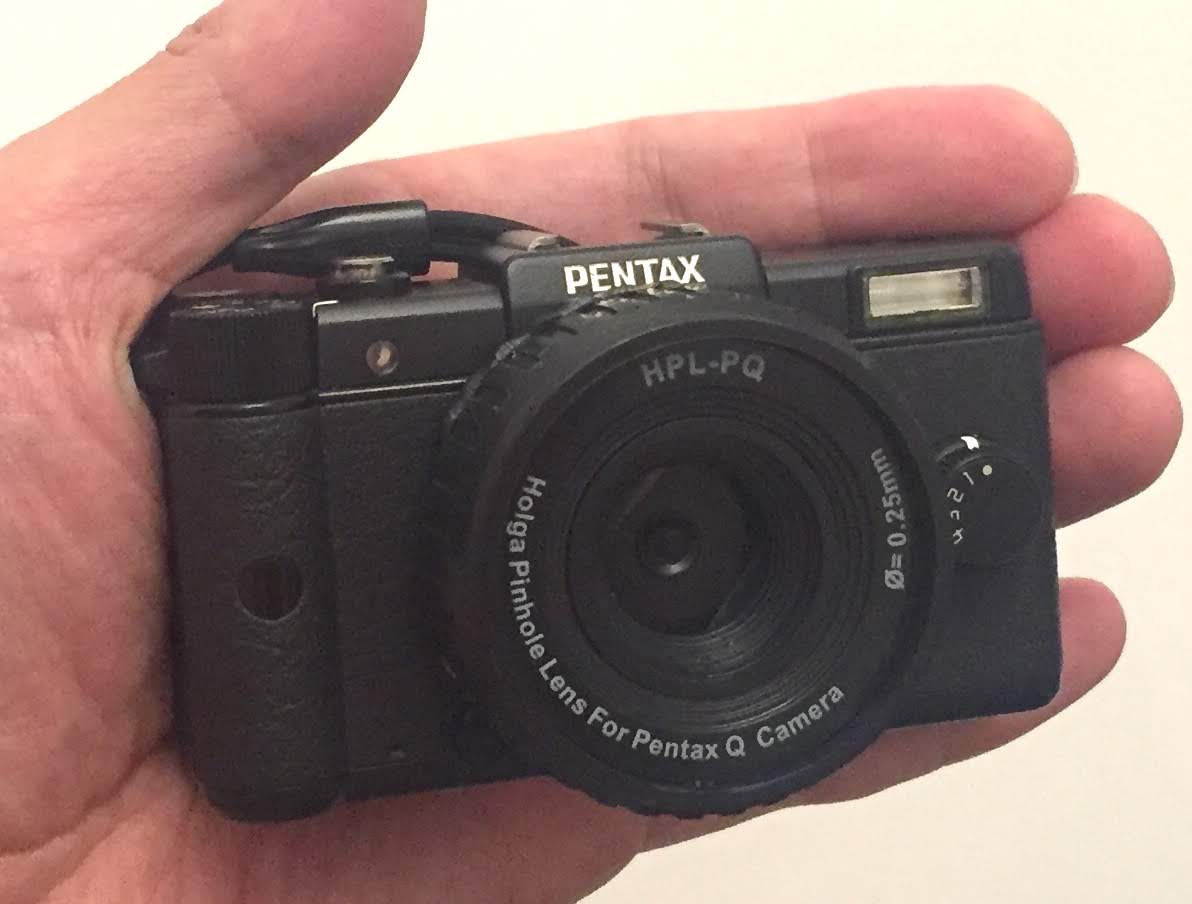
There are very few lenses with a PQ mount in existence and it appears Holga made 3 of them!
Here we examine the plastic pinhole AKA the HLP-PQ.
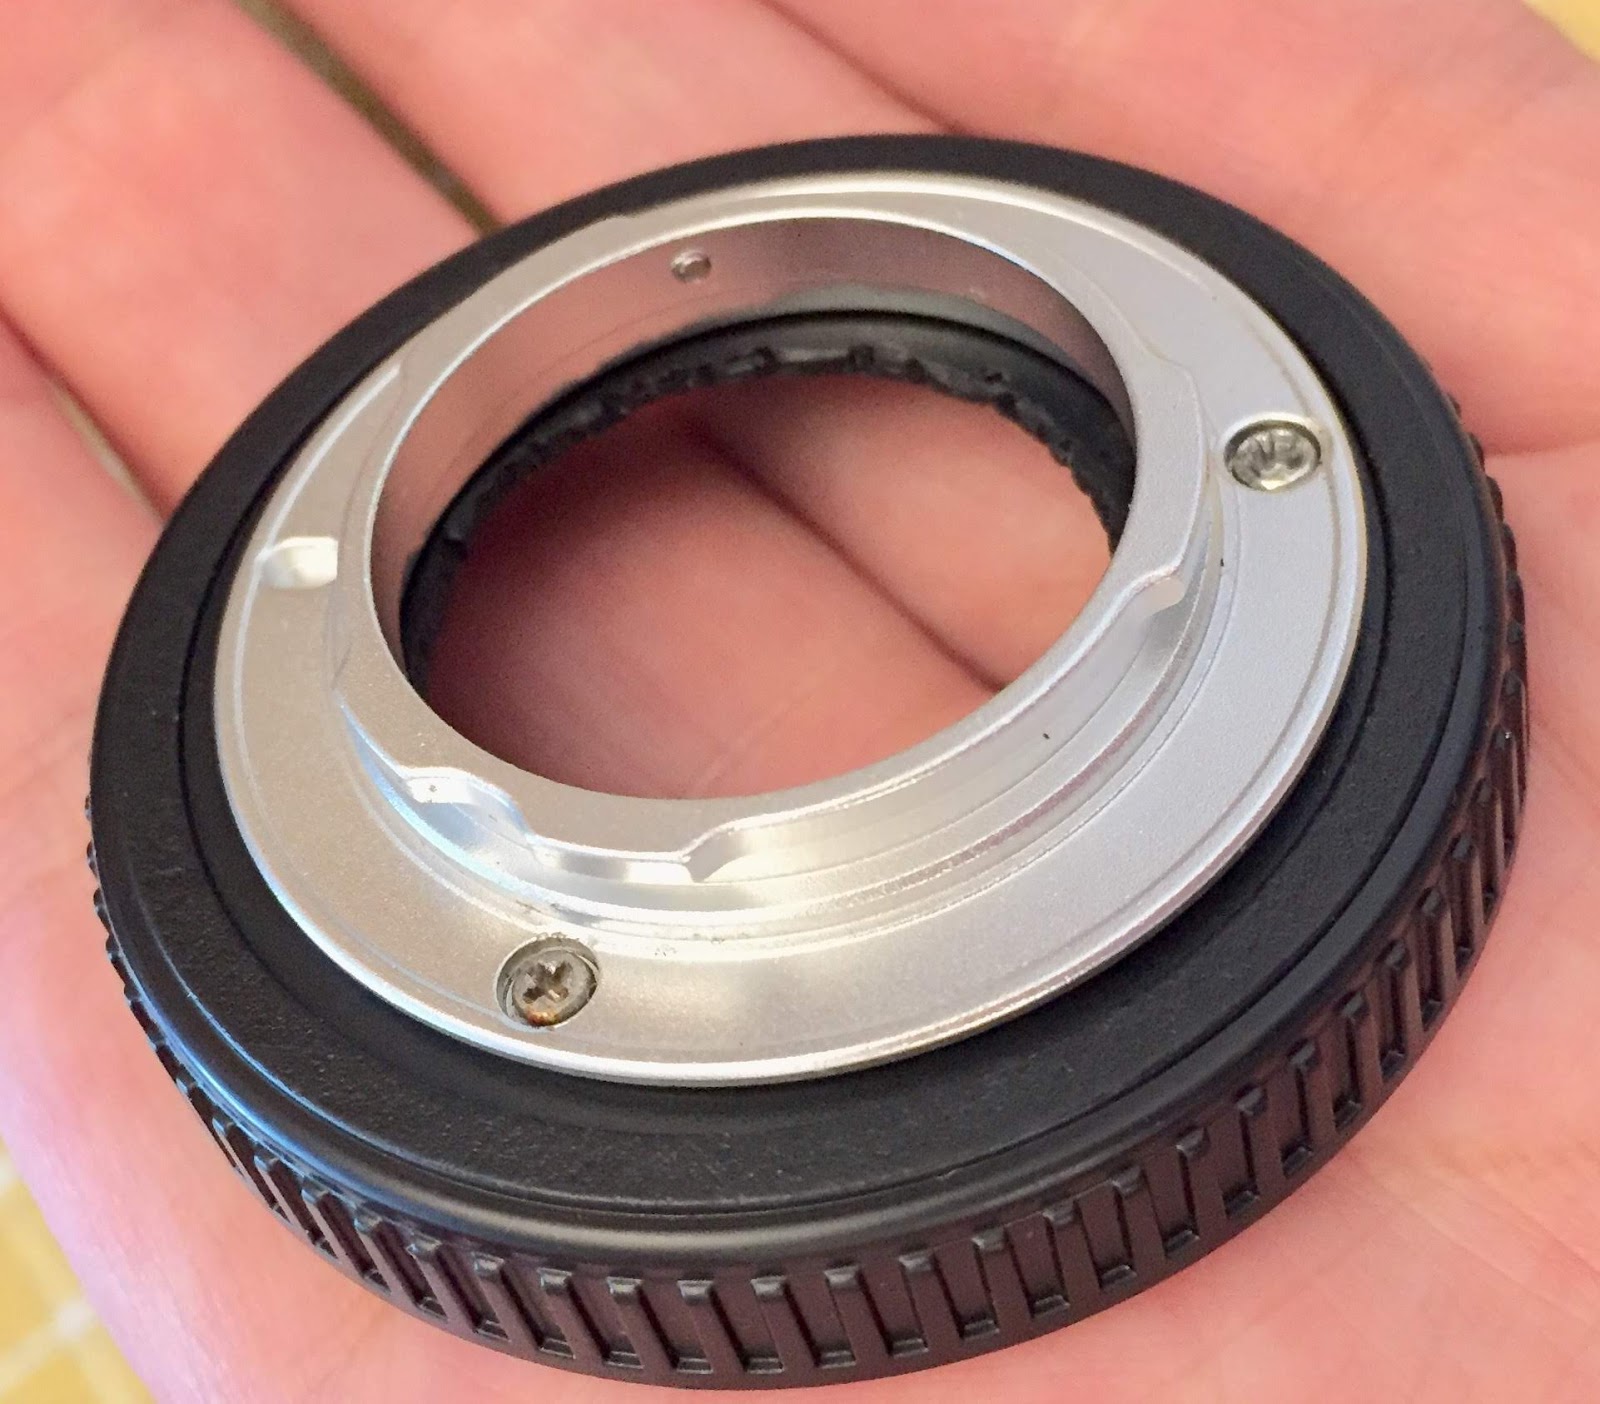
The HLP-PQ is entirely plastic. You might imagine being able to turn the barrel as if focusing but it won’t turn. The construction is such that the focus wheel, indeed screws into the rear half’s thread with the PQ mount, but the 2 components are glued together. Don’t bother twisting it apart with your hands or even with tools, it simply would not shift. To disassemble, I needed to apply considerable force with a well placed thin flathead screwdriver to pry it open at the thinnest point at a join between the rear mount and the front half of the lens body. I unfortunately ended up breaking away some of the side wall before successfully levering the 2 halves apart. With more care you might be able to avoid a similar mishap.
 
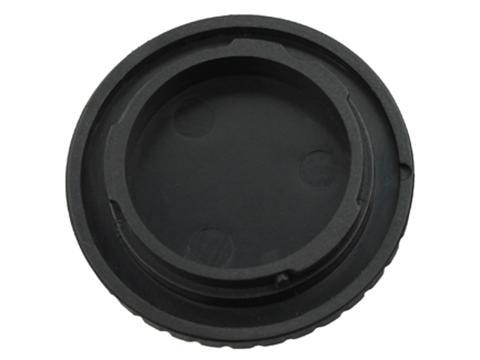
Look at the generous helpings of glue that was applied on the threads! Whoever put this together did not intend for us to get inside it. Note also on my copy, the inside rear half has revealed  some leftover broken parts around the aperture. Something was certainly cemented there but later forcibly removed. We’ll never know what it was, not something I did to it.


Seeing as the threadless outermost sidewalls did nothing but prevent the lens from closing down further than it otherwise could, I trimmed it away. Now not only is it a slimmer package but also provides more latitude for getting closer to the Q’s sensor. I could prune even further later if needed.

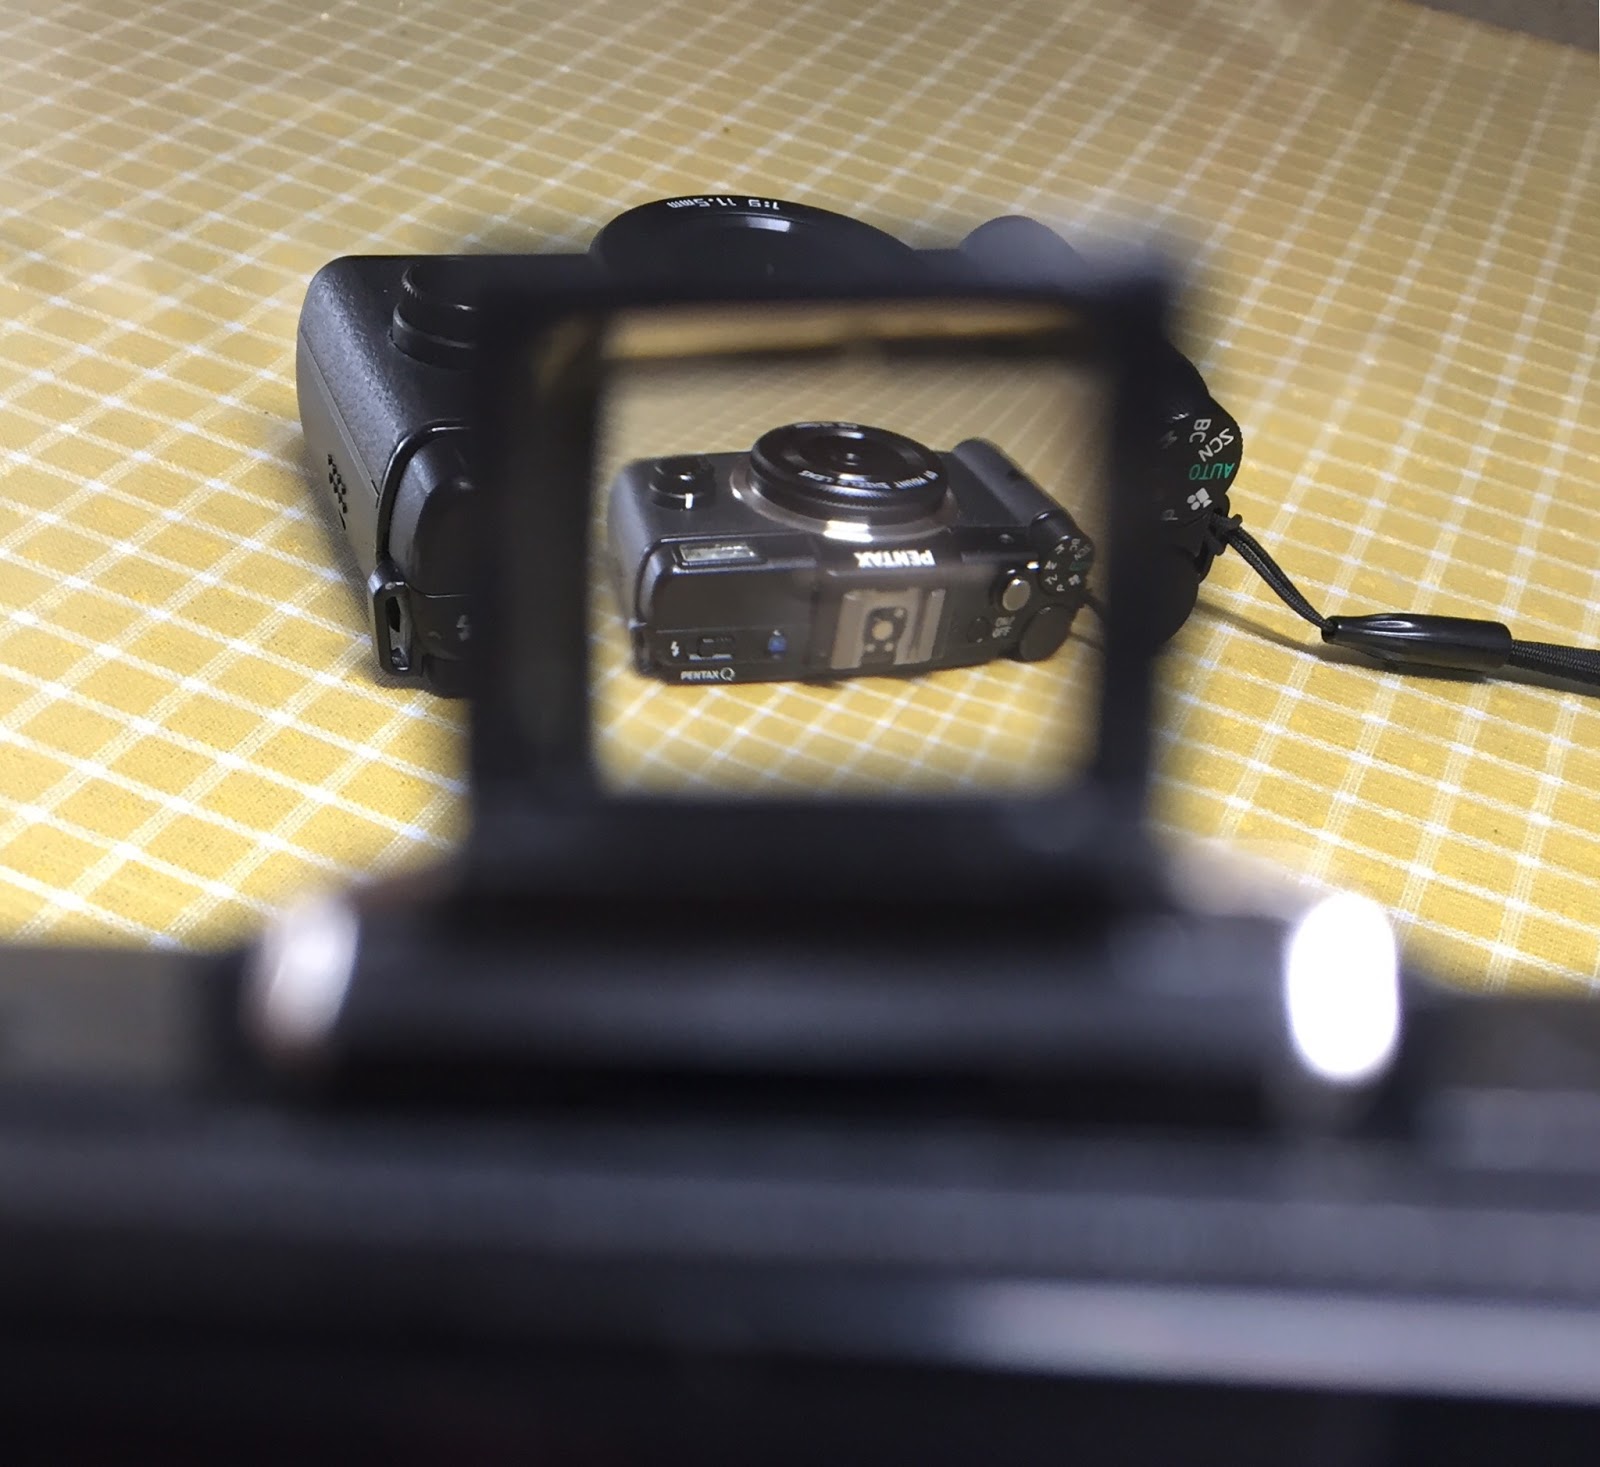
Interestingly, as this is pinhole, turning the focus wheel acts like a zoom ring! The closer the pinhole is positioned to the sensor, the wider the field of view and vice versa.
To satisfy my curiosity with the widest possible FOV, I pushed out and separated the pinhole plate that was otherwise glued to the the front half of the lens body. Taped the pinhole plate to the rear mount to see what an image would look like.
I’d say the blurriness is even worse than before but for sure the view was much wider than it was out of the factory. Perhaps the pinhole needs to be smaller to work better with the Q?

I will probably not use the pinhole plate component again to be honest but will put it to one side should I want to come back to it later. More likely, the lens body will be more immediately useful for housing real lenses (the Pentax 07 glass element perhaps) as this provides potential for an easy precise live manual focusing ring!


Out of the box and wider view after hack... both blurry.


Without the front and with the slimmer front adorned.

Sunday 17 June 2018

Small inexpensive 40mm optical viewfinder for Pentax Q

I bought this very compact 40mm viewfinder to use with Pentax Q.
This cost me only USD14 from Chinese Site ToaBoa that is I suppose equivalent to Amazon for China. I see it also on eBay but for selling much more. If it interests you shop around for the best deal.


It weighs next to nothing. Simple black plastic body is pretty robust IMO. Doubt it’s waterproof but it is sealed fairly well otherwise. It just slides into the Q hotshoe with a very low profile so should not be prone to accidentally being knocked off vs higher sitting viewfinders. I don’t see it being broken off the hotshoe any time soon. It provides a good approximation to what you will see shooting with the 01 standard prime lens. You can then turn off the back LCD completely and shoot via the optical viewfinder instead! Conserving batter power as a positive side effect. Shooting this way gives you a Holga-like shooting experience which is a novelty I enjoy. The best reason to get this gadget is for a bright sunny day when the Q’s LCD risks being washed out so an optical viewfinder like this is a nice to have thing in your kitbag.

Optically, it is very basic with good clarity to my eye and bright too. Maybe a little blurry at the very outer edges and that I can see the sides of the viewfinder inside is a small downside  when held really close to the eye. If I can open it up, a bit of flat black paint would help I think.
There is no internal markings to assist you with framing but you can easily make a mental note after using it a few times. Framing is of course dependent also on the subject distance from your lens. It reminds me of the old days of using disposable film cameras. I consider this product probably similar to you DIYing the viewfinder out of such disposable cameras and fitting it to the top of your camera but saving you the manual effort.

For the price I paid I think it’s quite fine. Certainly a very affordable  alternative to the official product or even any other optical viewfinder from Voigtlander or Leica or Sony which I refuse to pay so much for. I will only be using it occasionally at first, but if I find it more useful than expected, I may consider trying one of the more expensive optical viewfinders out there.


I


Monday 28 May 2018

CS lens mount for Pentax Q

CS lenses are closely related to C mount in that they share the same thread size but just CS has a 5mm shorter flange distance. C to PQ adaptors are plentiful and inexpensive.

So far I found only one CS to PQ adaptor commercially available item from Taiwan company Hawk’s Factory.
Several big name Japanese camera stores advertise it’s existence for mail order purchase only. Though strangely not listed from the Hawks Factory web store. Looks very solidly built but USD70 before shipping is too much for me considering the CS lens I am adapting only cost me about a USD2.
This tiny 8mm lens has an unmarked fixed aperture. Some sites list F1.2, others F2 but most places don’t mention the F stop at all. I estimated myself it is around F2 to F2.2

The solution would be to make a CS-PQ Mount myself.

Ingredients: 1x 3rd party plastic PQ body cap. The 3rd party body caps are great. Made of stiff plastic and importantly have a bayonet mount to confidently lock into the Q’s body. A highly recommended inexpensive upgrade to the original bendy unsecured push-on body cap that came with the camera.

Just trace and cut a C sized hole in the body cap and screw in your c mount lens and you are done!
Serendipitously the lens can focus to infinity with the positioning just right as-is.
Comparing with the Pentax 02 Standard zoom I found the field of view to be about 7.5mm but was underexposed at the widest F stop that 02 could manage. To get a similar shutter speed for a similar exposure, I found it roughly matched F2.2 on the 01 Standard Prime. So no gain in light gathering poses over the Standard Prime.
This cctv lens exhibits quite a bit of barrel distortion And is not at sharp as either the 02 or the 01.

The greatest benefit is the very small size and weight. The next is that it makes a fair tilt lens if you loosen it. Having a tilt lens on a Q is a wonderful novelty for me as again the overall Q package is so minute.

Glad I did not spend USD70 on that Hawks Factory CS to PQ adaptor!


Saturday 26 May 2018

DIY MFT to PQ adaptor and Pentax Q mirror lens project

I have the Tokina 300mm f6.3 mirror lens made specifically for Micro Four Thirds sersored cameras. As such, it is remarkably small and lightweight for its super telephoto capabilities. 
I already tried it on an APSC size sensor (Sony mirrorless). Although still quite usable, I do see just a little darkening of the very corners that corroborated this thing is optimally designed for the smaller MFT sensor size.
Wanting to try it on the even smaller than MFT sensored Pentax Q, just for fun. To accomplish that, I needed an MFT to PQ mount adaptor. Typical of mirror lenses, this Tokina is entirely manual focus and aperture is fixed, so there was no need for an adaptor with  electrical contact pass through. There are contacts on this lens that feed focal length and aperture value to MFT cameras. A nice to have feature for embedding meta data to photos and also automatically setting in body image stabilization to 300mm, but I will surrender that convenience for my Q usage.
At the time of this post, there are no commercially available MFT to PQ adaptors outside of unrevised 3D printed models. TBH,  I don’t want to risk having one printed for me without first reading a review of the model. So I decided instead to go ahead and fashion my own adaptor out of what bits and bobs I had at my disposal.

How I cobbled together an MFT to PQ adaptor for myself:
1) Cut a suitably sized hole into the bidder of an Olympus MFT rear lens cap
2) screwed in a metal Q lens mount donated from a Kookai Macro ring.


 V